React Native 项目配置
作者:user
发布日期:2025年12月12日 20:50
浏览量:499
1、项目目录结构与Prettier格式化代码
1-1 src目录
在开发前端项目时,通常会有一个 src 目录,项目开发中自己写的页面,组件,各种封装全部放在src目录下。统一放在一个目录里,既是一种习惯,也方便大家的管理。
其实使用 Expo 新建的 React Native 项目,也默认支持 src 目录。
- 新建空白项目
// 使用template blank参数,创建一个空白的React Naitve项目
// 项目名字输入:dk-bms-app
npx create-expo-app@latest --template blank
// 如果需要创建TypeScript项目,可以使用
npx create-expo-app@latest --template blank-typescript
-
新建 src 目录
在根目录新建一个 src 目录,然后将 app、assets、components、hooks、utils 等目录移动到 src 目录中。
按 ctrl + c 将服务停止,运行 npx expo start 重启服务。 -
修改 app.json
刷新项目时,在终端会提示找不到图片,需要将原 ./assets/ 路径修改为 ./src/assets。
1-2 使用 Prettier 格式化代码
- 安装 Prettier
npm i -D prettier
- 新增 .prettierrc.json 文件
在根目录新建一个 .prettierrc.json 文件,注意文件名前面有一个 .。配置内容如下:
{
  "$schema": "https://json.schemastore.org/prettierrc",
  "semi": false,
  "singleQuote": true,
  "printWidth": 100
}
- 配置 package.json
再配置用来格式化代码的命令。打开 package.json 文件,在里面的 scripts 增加 format:
{
  "scripts": {
    //...
    "web": "expo start --web",
    "format": "prettier --write \"**/*.{js,json,md,ts,jsx,tsx}\""
  },
}
2、定义 src 路径别名 @
很多时候项目层级很深,就要一层层的写../,非常容易出错,而且代码可读性也很差。
2-1 创建 babel.config.js
配置@来代替src目录,需要创建个Babel配置文件,Expo 官方文档里已经给出了命令,运行:
npx expo customize babel.config.js
2-2 安装 babel-plugin-module-resolver
- 安装 babel-plugin-module-resolver 插件
npm i -D babel-plugin-module-resolver
- 再打开babel.config.js文件,在默认配置的return里面,加上插件(plugins)的相关配置,这样就配置 @ 是 src 目录的别名:
module.exports = function (api) {
  api.cache(true);
  return {
    presets: ['babel-preset-expo'],
    plugins: [
      [
        'module-resolver',
        {
          root: ['./src'],
          alias: {
            '@': './src',
          },
        },
      ],
    ],
  };
};
2-3 重启并使用
// 重启服务并清除缓存
npx expo start --clear
2-4 编辑器支持
- 默认不支持
在引用后,在编辑器可以看到,底下有个波浪线。鼠标放上去提示未安装模块。用鼠标点击,发现也不能跳转进入到该文件,说明编辑器并不支持这个 @ 符号。 - 新建 jsconfig.json
在项目根目录,新建一个jsconfig.json文件,配置如下信息:
{
  "compilerOptions": {
    "baseUrl": ".",
    "paths": {
      "@/*": ["./src/*"]
    }
  },
  "exclude": ["node_modules", "**/node_modules/*"]
}
3、更新 Expo SDK 及相关依赖包
- 安装最新 Expo
在终端进入项目目录后,运行以下命令:
npm i expo@latest
- 更新 Expo 相关依赖包
npx expo install --fix
- 安装 react-dom
打开项目的package.json,这里还缺少一个依赖包react-dom。
这个包本来不装也没事,项目里会通过其他包的依赖项自动安装。但是在新版本里,让它自动安装会出现问题。
在 package.json 里配置 react-dom 和 react 版本号一致,为 19.1.0。
{
  "dependencies": {
    "react": "19.1.0",
    "react-dom": "19.1.0",
  },
}
执行依赖安装命令:
npm i
- 检查错误
运行以下命令可以用于检查错误:
npx expo-doctor
4、实现下拉刷新 RefreshControl 与 触底加载更多 onEndReached
4-1 RefreshControl 用法介绍
- refreshing,代表是否显示加载中指示器。
- onRefresh,代表当用户下拉了,要对应的执行什么函数。
- 当用户下拉了,先设置成true,然后读取接口。读取完成了,就设置回false。底下就使用下RefreshControl,将各个参数都传传递进去。
import { useState } from 'react';
import { RefreshControl, ScrollView } from 'react-native';

export default function Index() {
  const [refreshing, serRefreshing] = useState(false);

  const onRefresh = () => {
    setRefreshing(true);

    // 模拟重新请求接口
    console.log('刷新发起请求了');
    setTimeout(() => {
      setRefreshing(false);
    }, 2000);
  };

  return (
    <ScrollView
      style={styles.container}
      contentContainerStyle={styles.contentContainer}
      refreshControl={
        <RefreshControl refreshing={refreshing} onRefresh={onRefresh} tintColor={'#1f99b0'} />
      }
    >
      <View>内容</View>
    </ScrollView>
  );
}
4-2 onEndReached 用法介绍
- onEndReached表示触底后,会自动执行后面自定义的函数。
- onEndReachedThreshold(/’θreʃhoʊld/),表示距离列表底部还有多少可见区域时触发这个函数。我们这里设置成0.1,就表示距离底部还剩10%的时候,就自动会执行onEndReached函数了。
import { useState } from 'react';

export default function Index() {
  const [page, setPage] = useState(1);

  /**
   * 加载更多
   */
  const onEndReached = async () => {
    // 页面数 + 1
    const nextPage = page + 1;
    setPage(nextPage);
    // console.log(nextPage)

    // 请求接口
    // console.log(data)

    // 将新数据追加到现有列表中
    setData((prevData) => ({
      articles: [...prevData.articles, ...data.articles],
    }));
  };

  return (
    <FlatList
      style={styles.container}
      contentContainerStyle={styles.contentContainer}
      data={articles}
      keyExtractor={(item) => item.id.toString()}
      renderItem={renderItem}
      ItemSeparatorComponent={renderSeparator}
      ListEmptyComponent={<NoData />}
      refreshControl={
        <RefreshControl refreshing={refreshing} onRefresh={onRefresh} tintColor={'#1f99b0'} />
      }
      onEndReached={onEndReached}
      onEndReachedThreshold={0.1}
    />
  );
}
5、打开网页的方式:Linking、WebBrowser 与 WebView
5-1 使用 Linking
这种方式会跳出当前APP去打开浏览器。
这种方法,除了打开网页,有时还会用来打开深度链接地址,跳转到其他 App 上。
- 安装
npx expo install expo-linking
- 使用
import * as Linking from 'expo-linking';

<Cell
  title="常用站点"
  // 使用 Linking
  onPress={() => {
    Linking.openURL('https://lgk.pub');
  }}
/>;
5-2 使用 WebBrowser
用这种方式,依然还是在当前 App 里,并没有跳到单独的浏览器中。
在iOS上:页面是从底部弹出的。左上角有一个勾,点击后会关闭页面了。
在Android上:页面是左右切换打开的。点击左上角的叉后,就跳转回来了。
- 安装
npx expo install expo-web-browser
- 使用
import * as WebBrowser from 'expo-web-browser';

// 使用 WebBrowser
<Cell
  title="常用站点"
  //...

  // 使用 WebBrowser
  onPress={async () => {
    await WebBrowser.openBrowserAsync('https://lgk.pub');
  }}
/>;
5-3 使用 WebView
- 使用
import { useState } from 'react';
import { View, StyleSheet, Text } from 'react-native';
import { WebView } from 'react-native-webview';

export const CustomWebView = ({ url }) => {
  const [webViewHeight, setWebViewHeight] = useState(0);
  const [hasError, setHasError] = useState(false);
  const [isLoading, setIsLoading] = useState(true);

  const onMessage = (event) => {
    const height = parseFloat(event.nativeEvent.data);
    if (!isNaN(height) && height > 0) {
      setWebViewHeight(height);
    }
  };

  const onError = () => {
    setHasError(true);
    setIsLoading(false);
  };

  const onLoadEnd = () => {
    setIsLoading(false);
  };

  const injectedJavaScript = `
    window.addEventListener('load', function() {
      const height = document.documentElement.scrollHeight;
      window.ReactNativeWebView.postMessage(String(height));
    });
    true;
  `;
  return (
    <View style={styles.container}>
      {isLoading && !hasError && (
        <View style={{ width: '100%', height: '100%', marginTop: '20%', alignItems: 'center' }}>
          <Text style={{ color: '#333', fontSize: 16, textAlign: 'center' }}>加载中...</Text>
        </View>
      )}

      {hasError ? (
        <View style={{ width: '100%', height: '100%', marginTop: '10%', alignItems: 'center' }}>
          <View style={{ width: '100%', padding: 20 }}>
            <Text style={{ color: '#333', fontSize: 16, fontWeight: '700', textAlign: 'center' }}>
              无法连接到网页
            </Text>
            <Text style={{ color: '#333', fontSize: 16, paddingVertical: 10 }}>请确保:</Text>
            <Text style={{ color: '#333', fontSize: 16, marginLeft: 10 }}>1. URL地址正确</Text>
            <Text style={{ color: '#333', fontSize: 16, marginLeft: 10 }}>
              2. 网页服务器正在运行
            </Text>
            <Text style={{ color: '#333', fontSize: 16, marginLeft: 10 }}>
              3. URL链接可访问: {url}
            </Text>
          </View>
        </View>
      ) : (
        <WebView
          source={{ uri: url }}
          style={{ height: webViewHeight || 300 }}
          onMessage={onMessage}
          onError={onError}
          onLoadEnd={onLoadEnd}
          injectedJavaScript={injectedJavaScript}
          scrollEnabled={false}
          javaScriptEnabled={true}
          domStorageEnabled={true}
          originWhitelist={['*']}
        />
      )}
    </View>
  );
};

const styles = StyleSheet.create({
  container: {
    flex: 1,
  },
});
6、React Native Expo 项目打包
6-1 注册Expo账号
- Expo 官网:https:expo.dev/
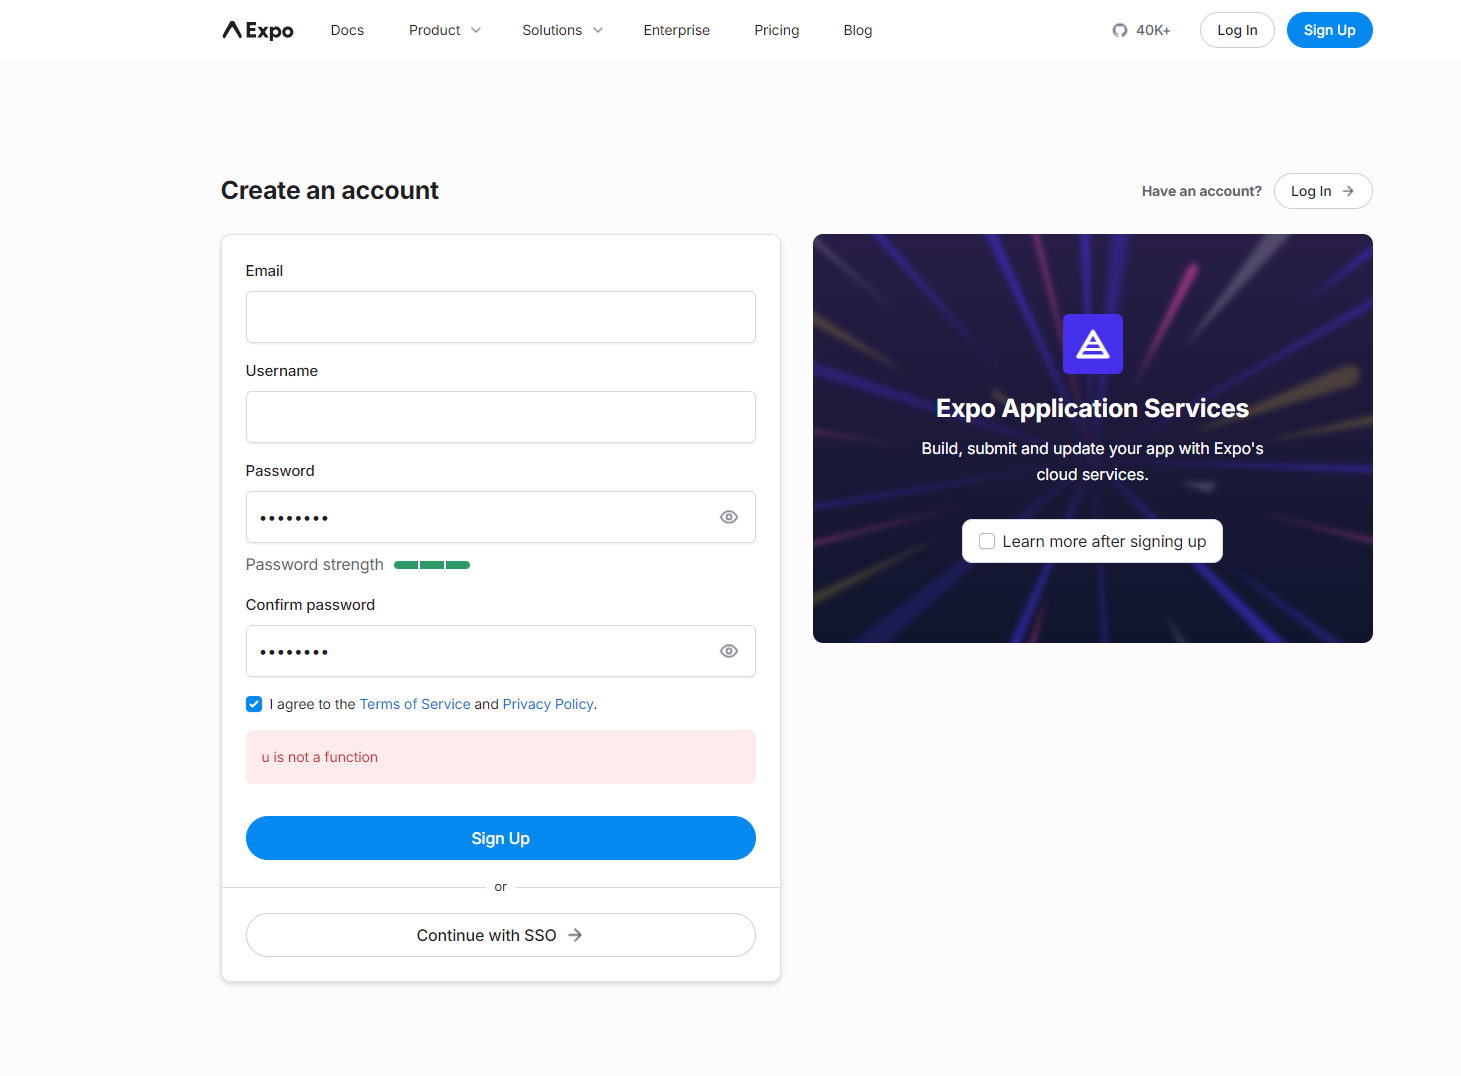
- 注册时可能会出现如图所示的报错,建议翻墙去注册
- 登录

6-2 安装 eas-cli
- 安装 eas-cli
npm install -g eas-cli
6-3 打包
- 在终端使用注册的用户名和密码登录expo
expo login
- 登录成功后,输入以下命令,出现选项,选择打包的类型,安卓选择 Android
eas build:configure
- 输入打包命令
eas build --platform android
上一篇:
React Native 基础入门之路由
搜索
最新文章
热门文章